
Fixing black screen issue on boot after graphics card replacement in OpenCore Legacy Patcher
If you replaced your graphics card with a different type e.g. you replaced RX580 (Polaris based) with Vega 56 (Vega based) you might have a black screen issue when trying to boot with OpenCore Legacy Patcher. The system won't boot past Apple logo with progress bar.
It's because your system is patched for you older graphics card, while drivers for other (newer) graphics cards are disabled.
We need to unpatch the system first. Then patch it again.
Please note: Use this guide only if you have used OpenCore Legacy Patcher for macOS installation. Native macOS installations does not need this.
Step 1Remove your new graphics card and put you old graphics card inside Mac Pro.
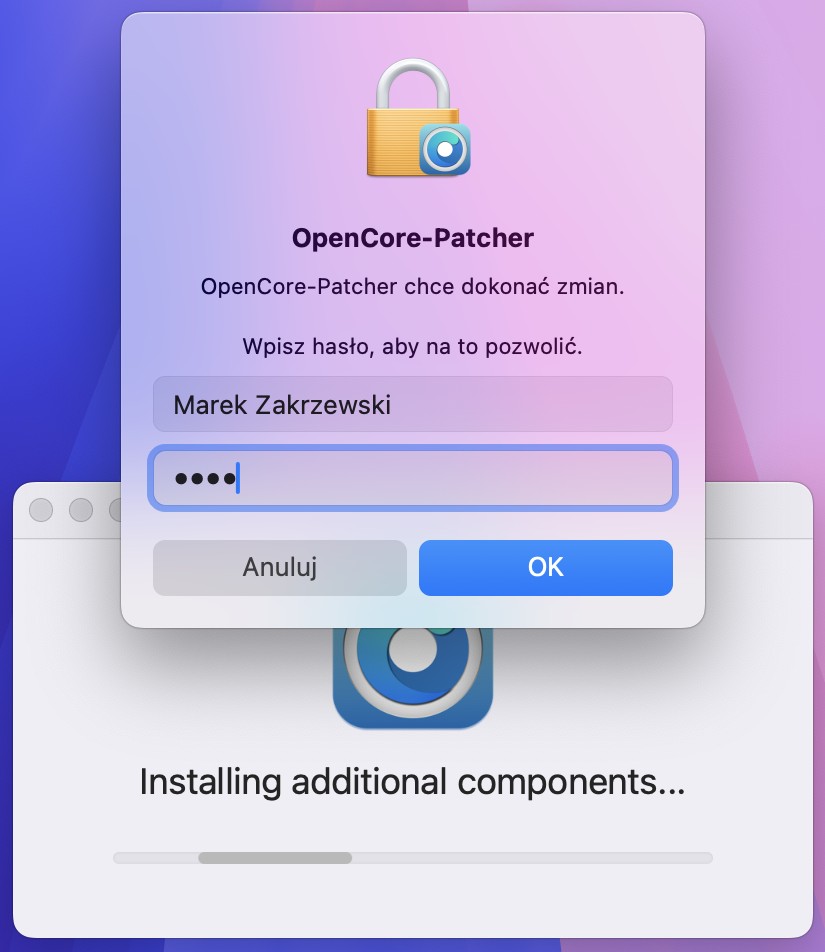
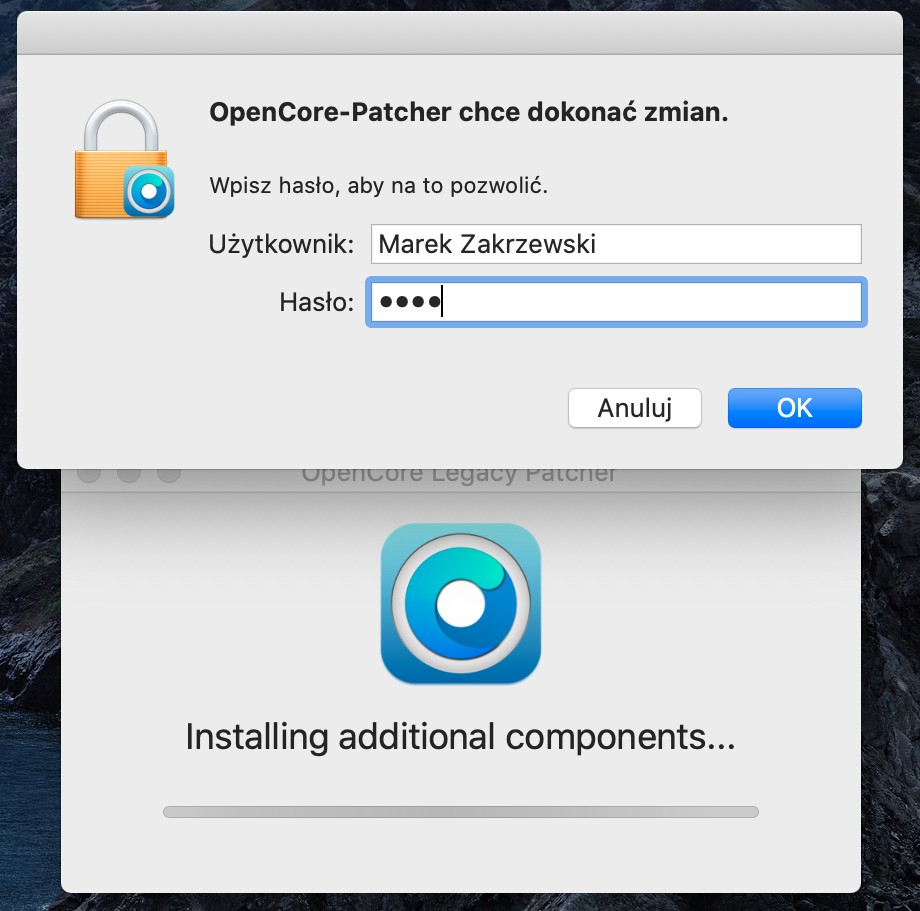
Run OpenCore Legacy Patcher and enter your username password then click OK button. |
 |
|
|
|
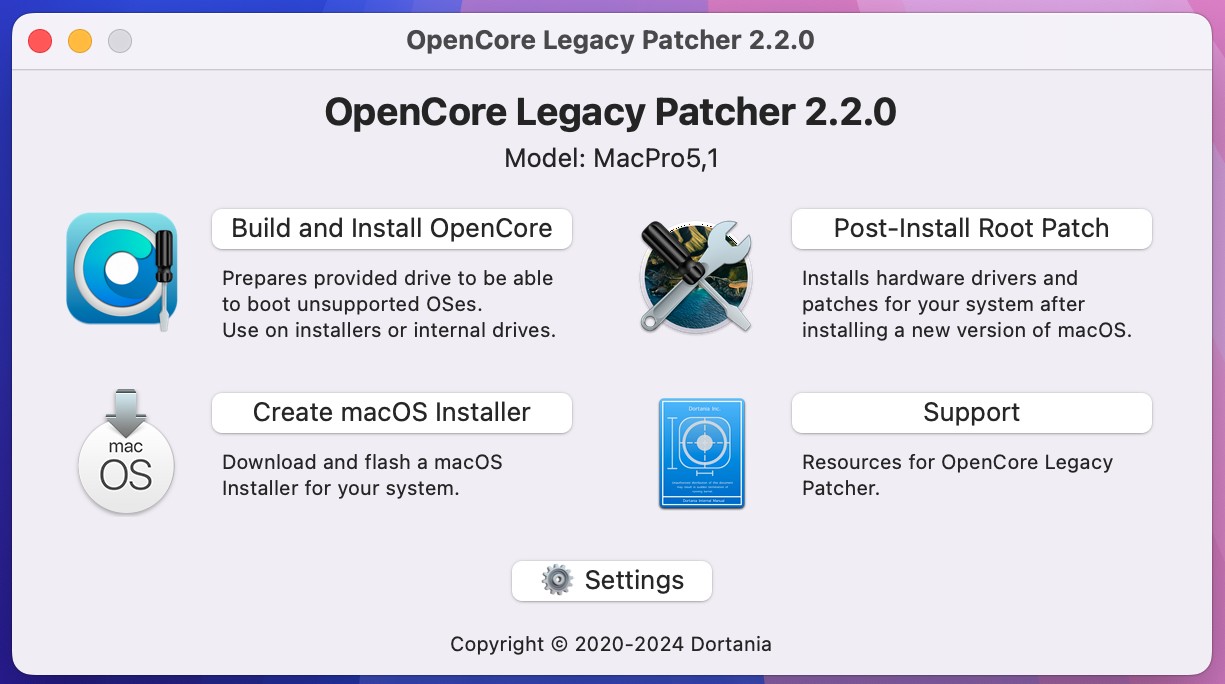
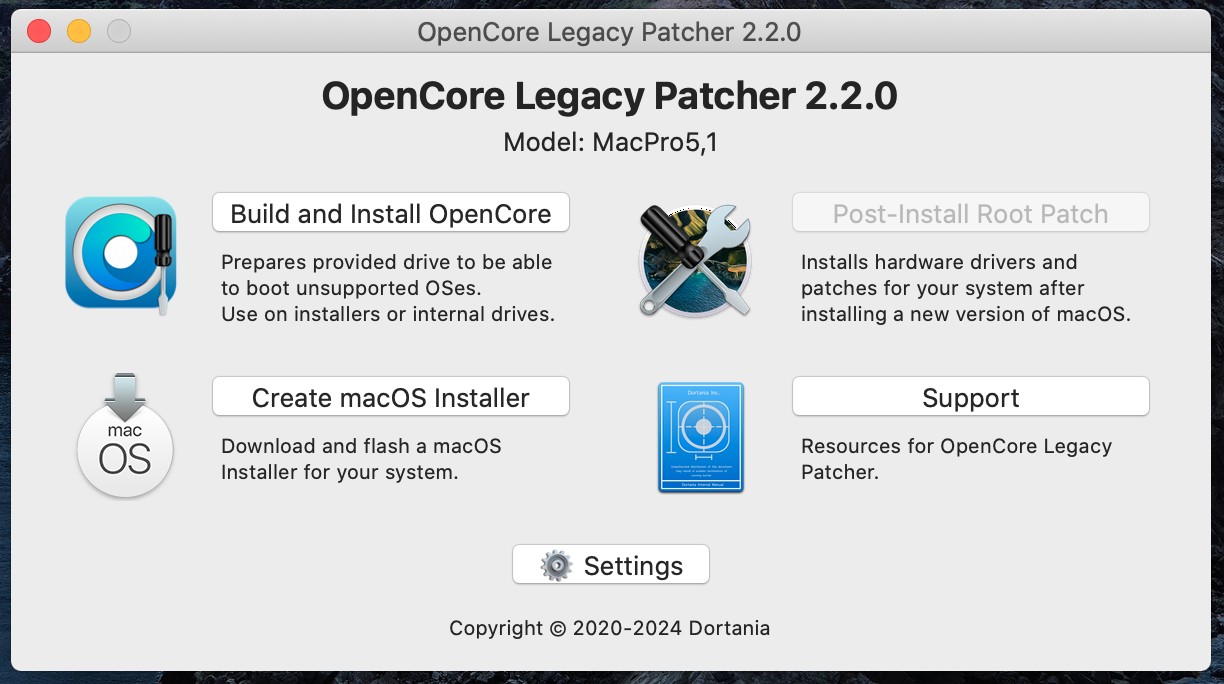
Step 2Click Post-Install Root Patch button. |
 |
|
|
|
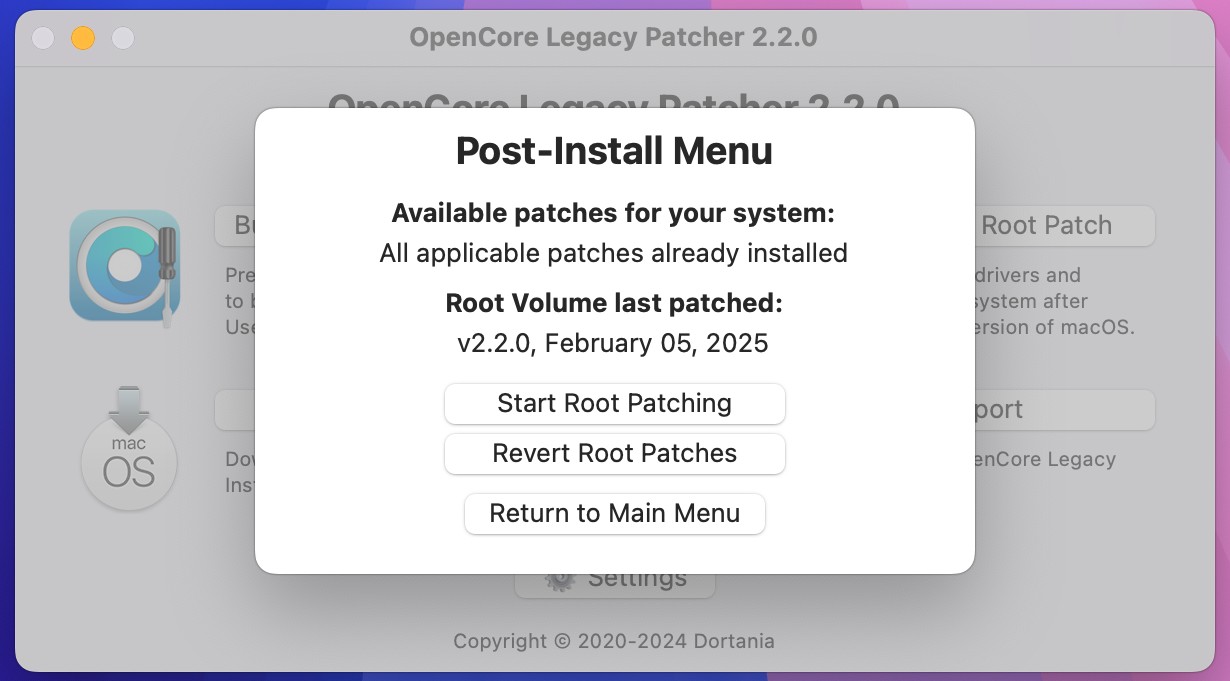
Step 3Click Revert Root Patches button to remove all patches for your current system and graphics card. |
 |
|
|
|
Step 4Click Ignore button, close all opened applications and turn off your computer. |
 |
|
|
|
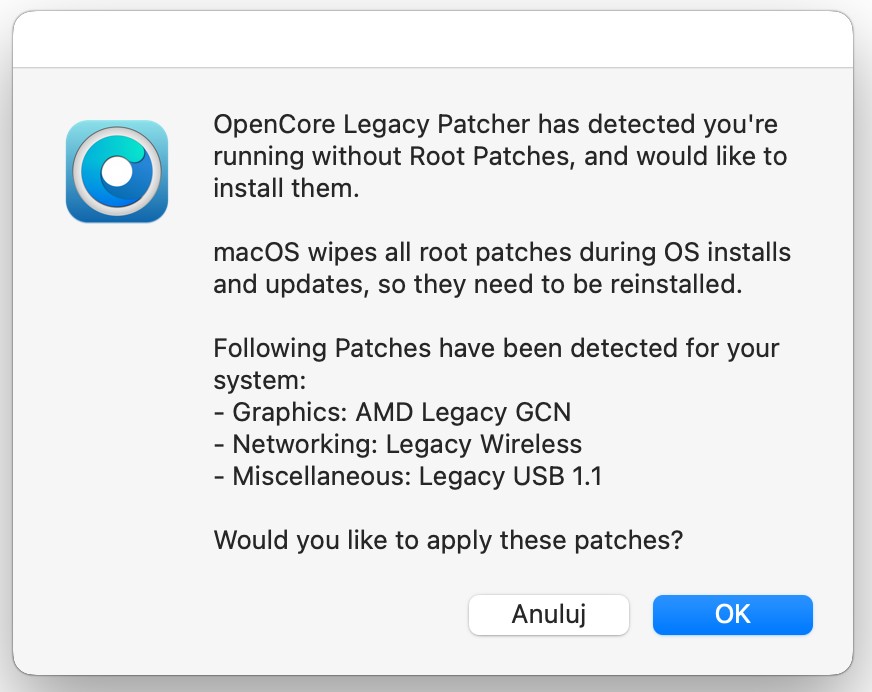
Step 5Replace your old graphics card with a new one and start your computer again. If your computer boots successfully you will be presented with white desktop wallpaper and everything would be working very slow. It's because your system is now running without any patches. Wait a few seconds and your should see OpenCore Legacy Patcher popup window, telling you are running the system without Root patches and if you would like to install them. Click OK button to install all necessary patches. Warning: If your system still boots to black screen please skip to Step 7. |
 |
|
|
|
Step 6Click Reboot button to restart the system. Post restart your system would boot with a new graphics card and there will be no more black screen. |
 |
|
|
|
Step 7If your system still boots to black screen you need to refresh macOS install by booting some older bootable system e.g. Mojave.
If you don't have any older bootable system you can use your old graphics card for a moment again just to recreate the USB stick.
Run OpenCore Legacy Patcher and enter your username password then click OK button.
Please note: All your data and settings will remain in place during macOS refresh install. |
 |
|
|
|
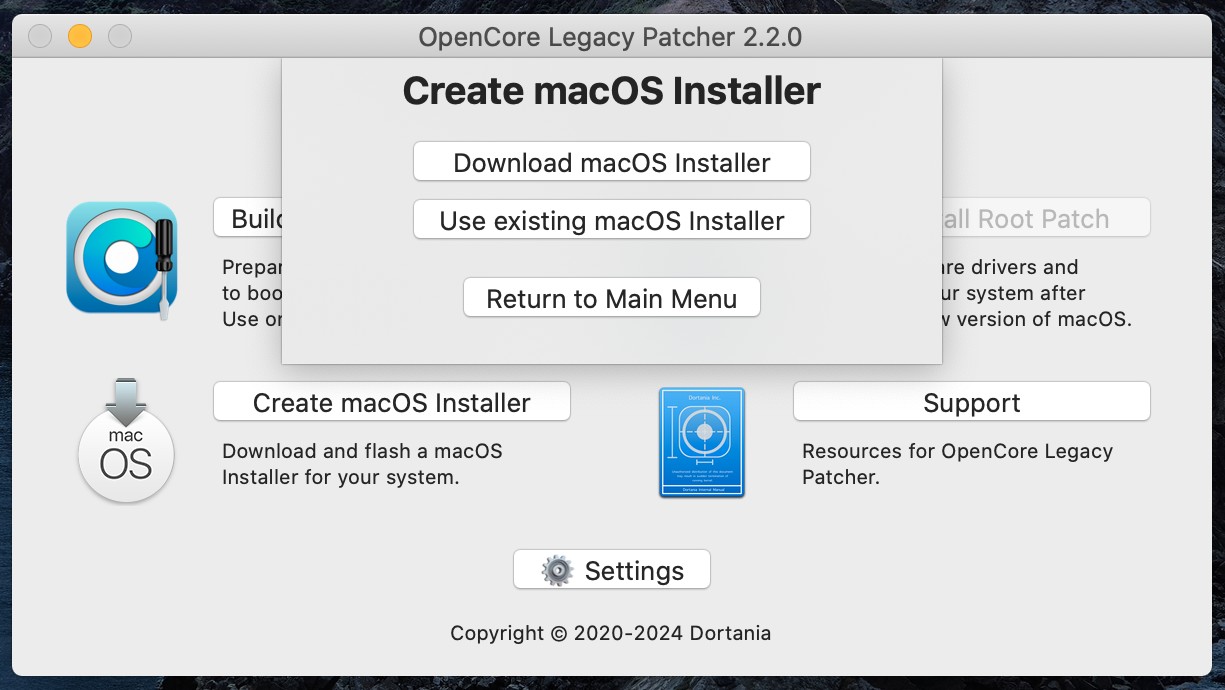
Step 8Insert a USB flash drive which is at least 16 GB in size. Click Create macOS Installer button. |
 |
|
|
|
Step 9Click Download macOS Installer button. |
 |
|
|
|
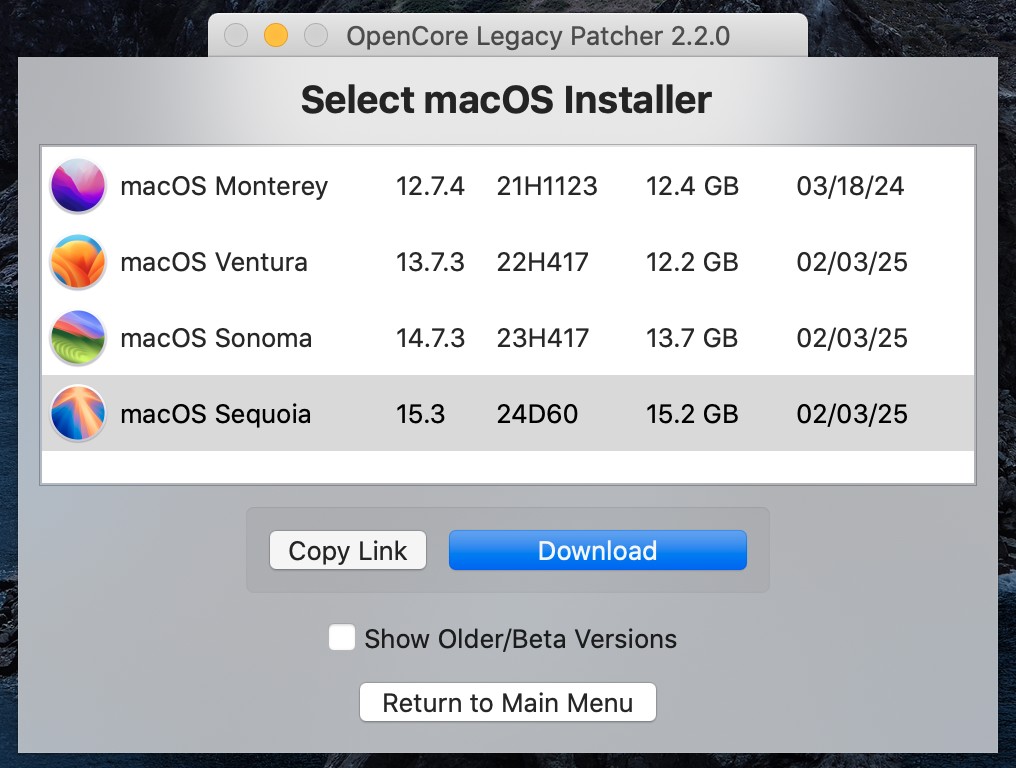
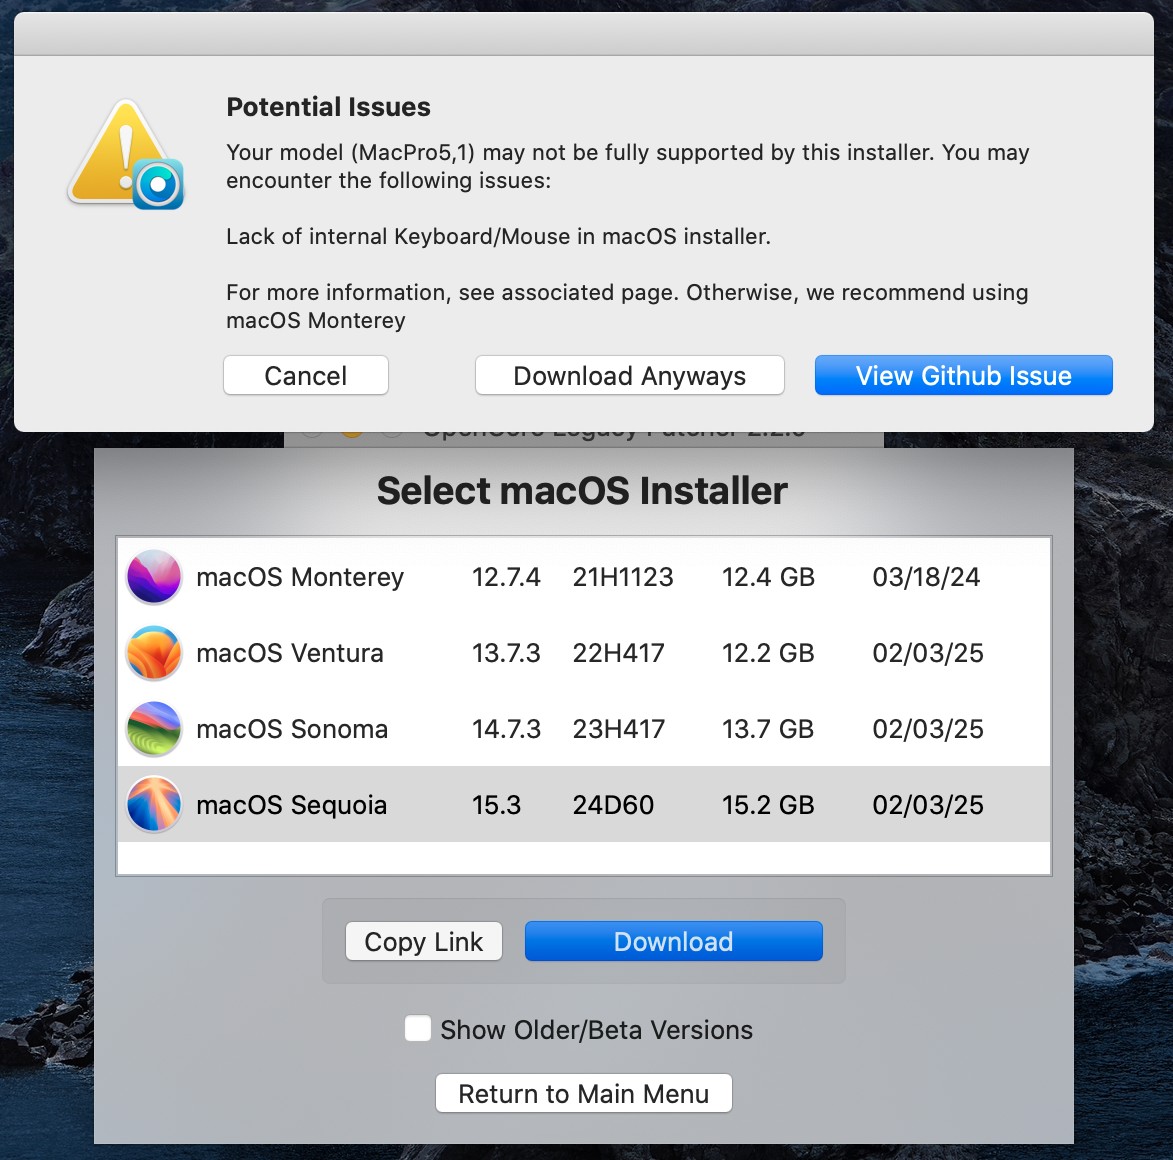
Step 10Choose macOS version you wish to refresh. You can also upgrade older versions of macOS. Then click Download button. |
 |
|
|
|
Step 11Ignore the warning and click Download Anyways button to start downloading macOS installer. |
 |
|
|
|
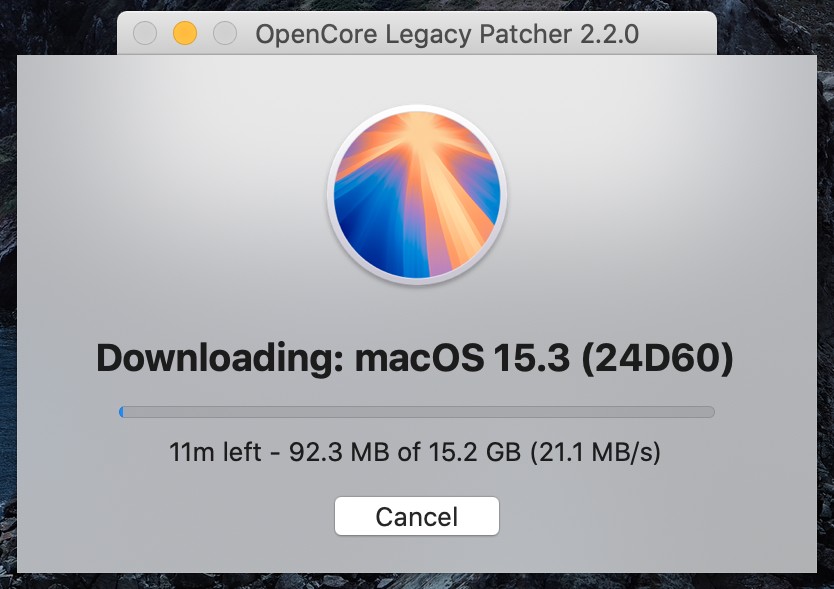
Step 12macOS installer would be downloaded. It will take several minutes depending on your Internet connection speed. |
 |
|
|
|
Step 13Click Yes button to create macOS installer on a USB flash drive. |
 |
|
|
|
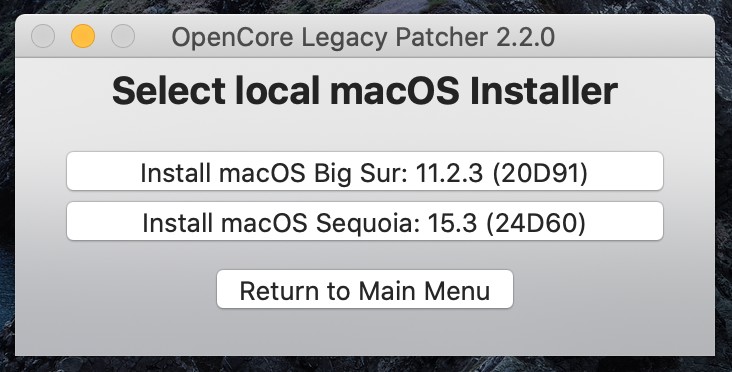
Step 14Select the just downloaded macOS installer version from the list. |
 |
|
|
|
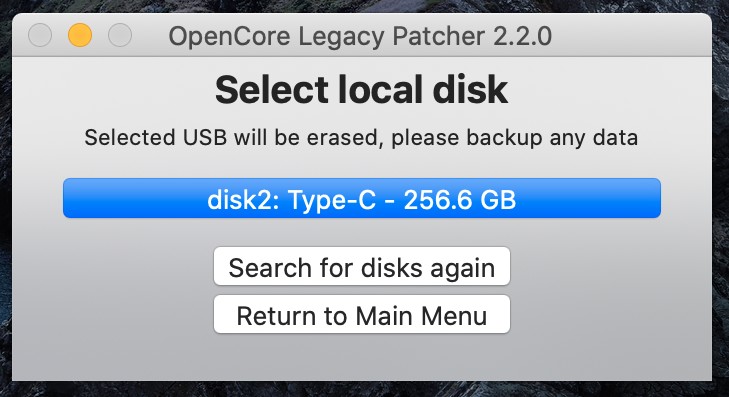
Step 15Select you USB flash drive from the list. |
 |
|
|
|
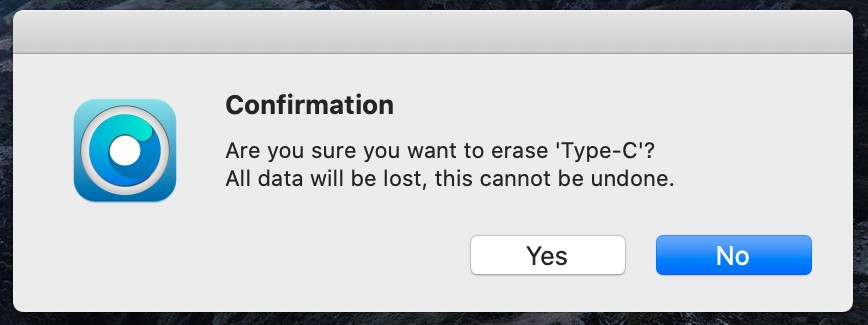
Step 16Click Yes button to confirm erasing the USB flash drive.
WARNING: All data on your USB flash drive would be lost! |
 |
|
|
|
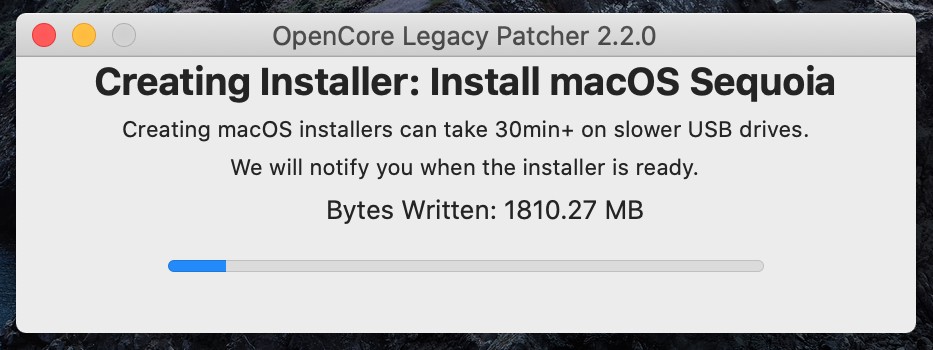
Step 17It will take several minutes to copy macOS installer onto flash drive depending on the write speed of your USB flash drive. |
 |
|
|
|
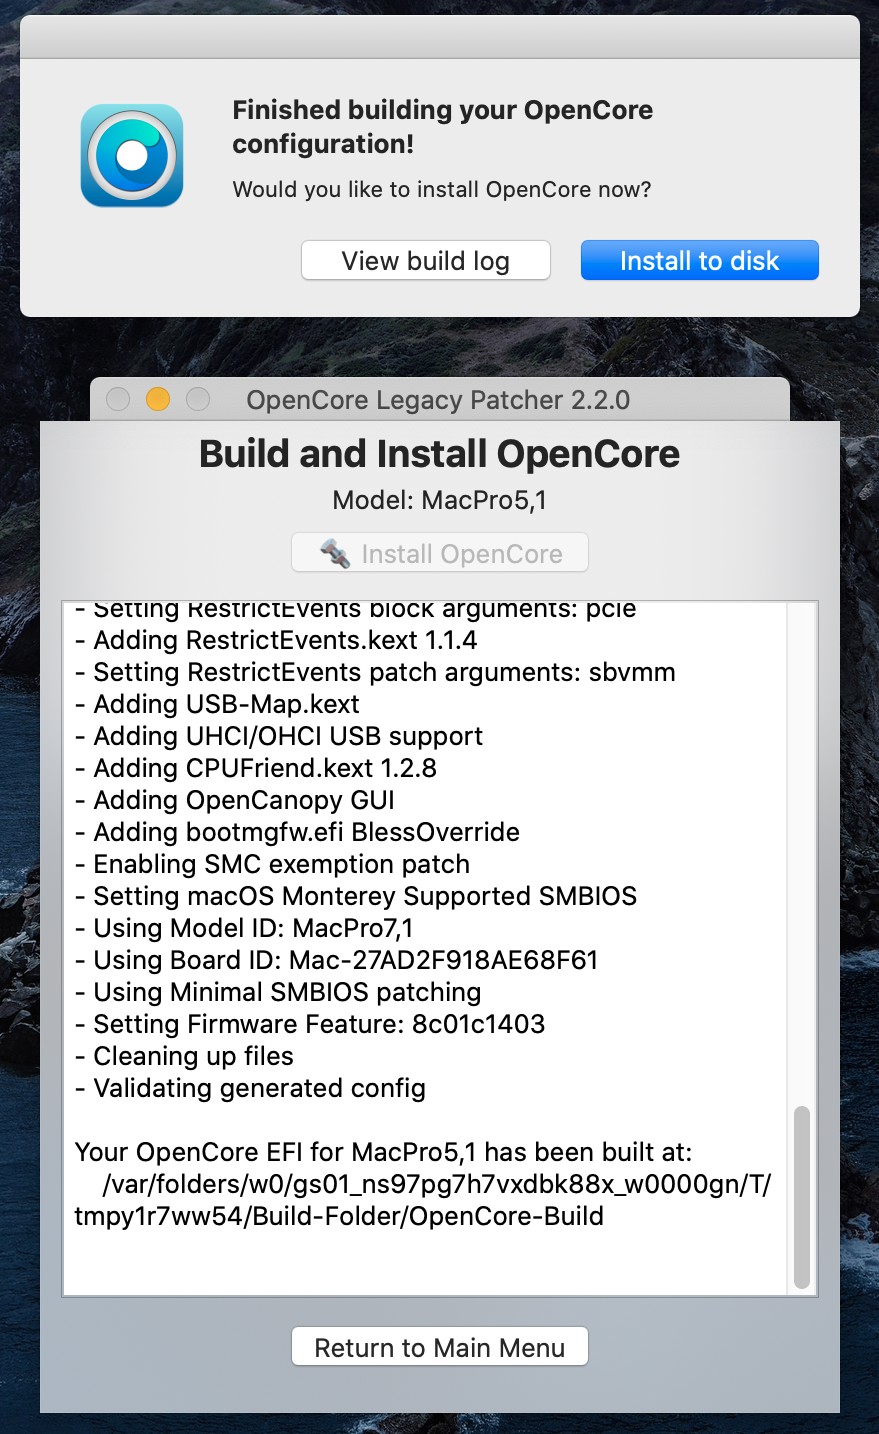
Step 18Now click Install to disk button to install OpenCore Legacy Patcher on your USB flash drive. |
 |
|
|
|
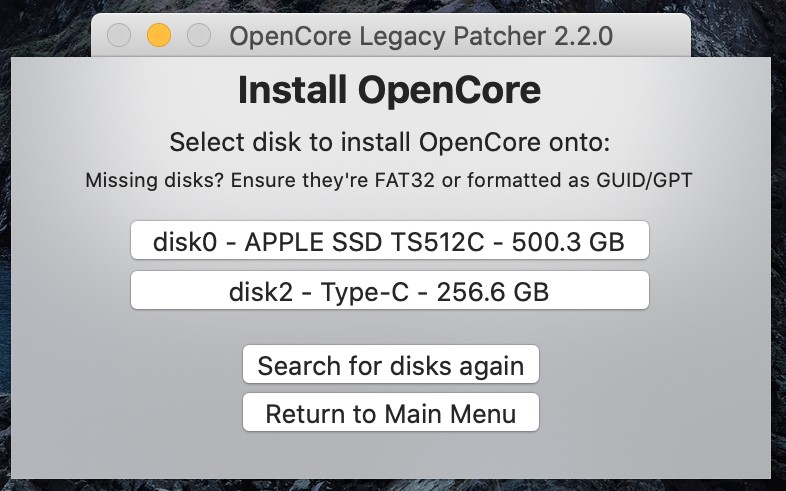
Step 19Choose your USB flash drive from the list. |
 |
|
|
|
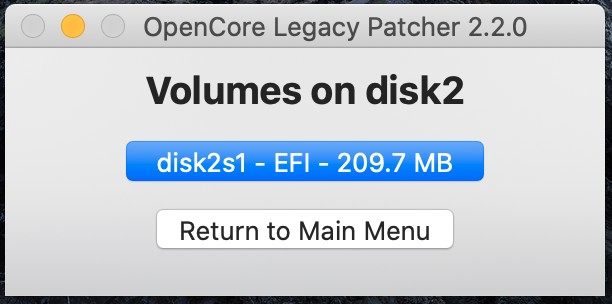
Step 20Click the only EFI volume on your USB flash drive. |
 |
|
|
|
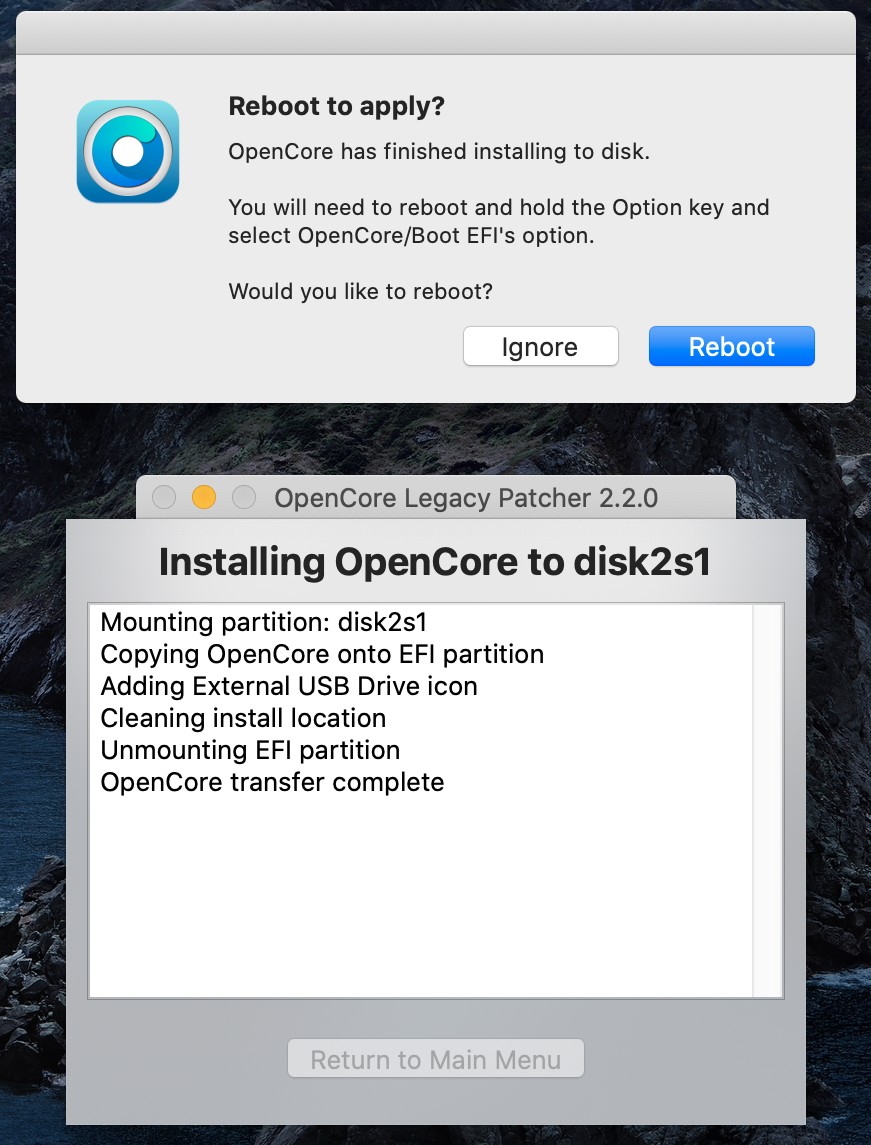
Step 21Click Ignore button, close all applications and turn off your computer. |
 |
|
|
|
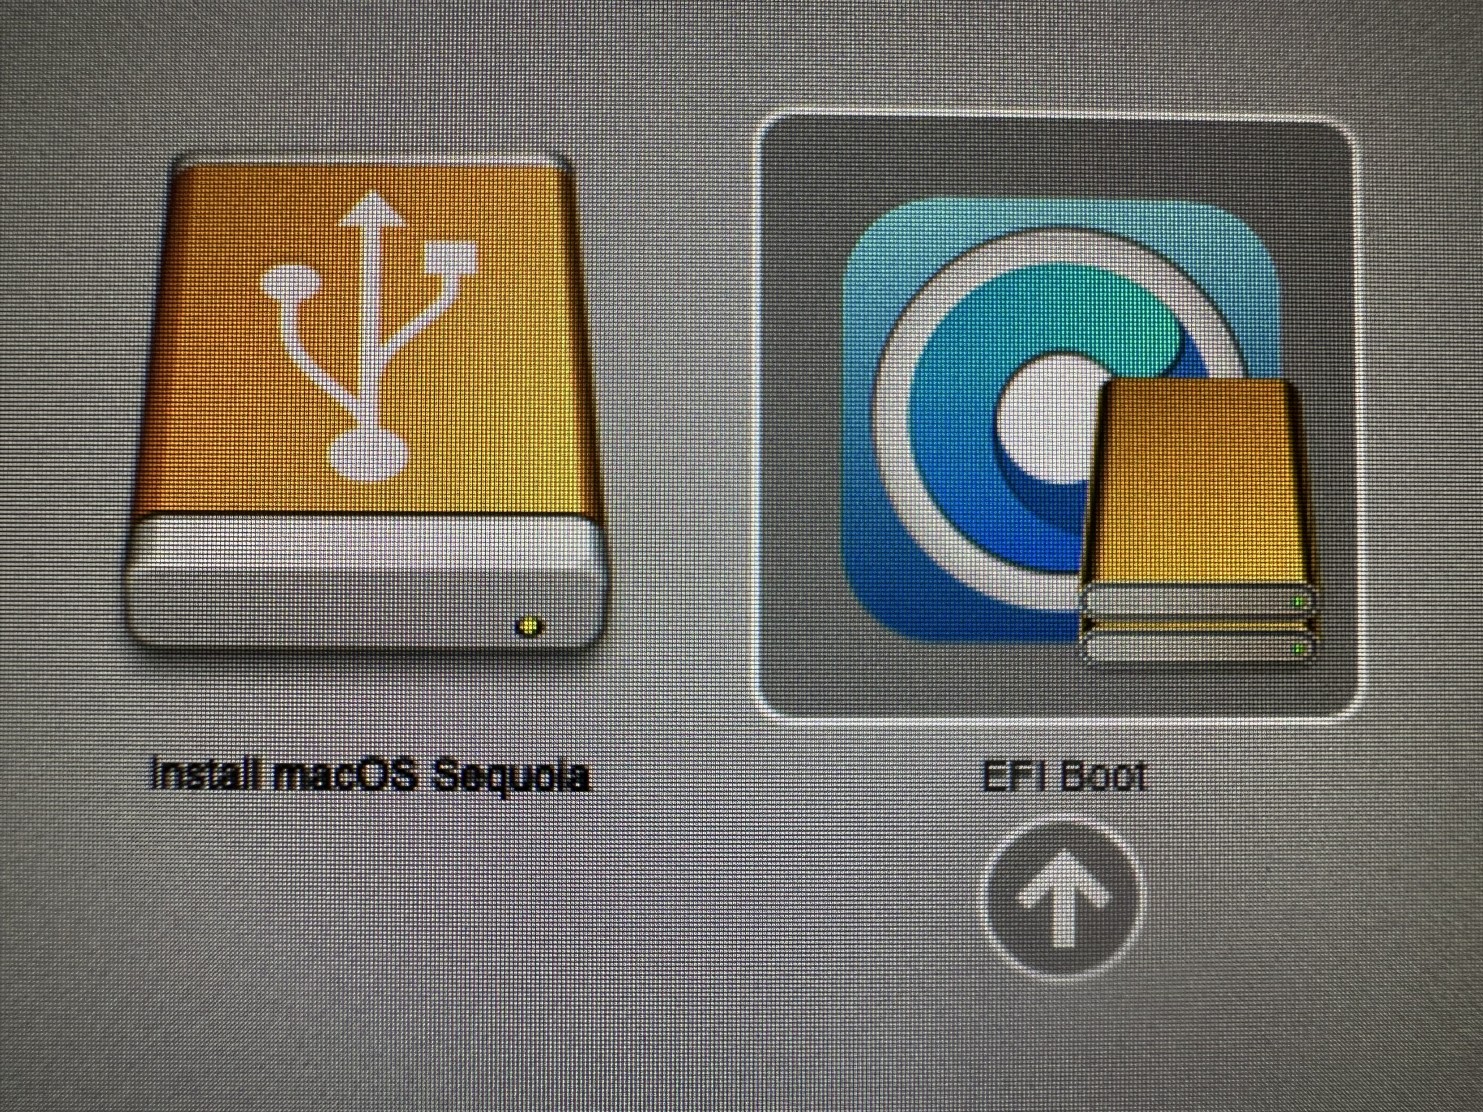
Step 22WARNING: If you have used your old graphics card to boot the system now replace it with your new graphics card. Otherwise the system would be patched for the old graphics card again.
Start the system while pressing Option key (or ALT key) and click an arrow under EFI boot screen icon with OpenCore logo. |
 |
|
|
|
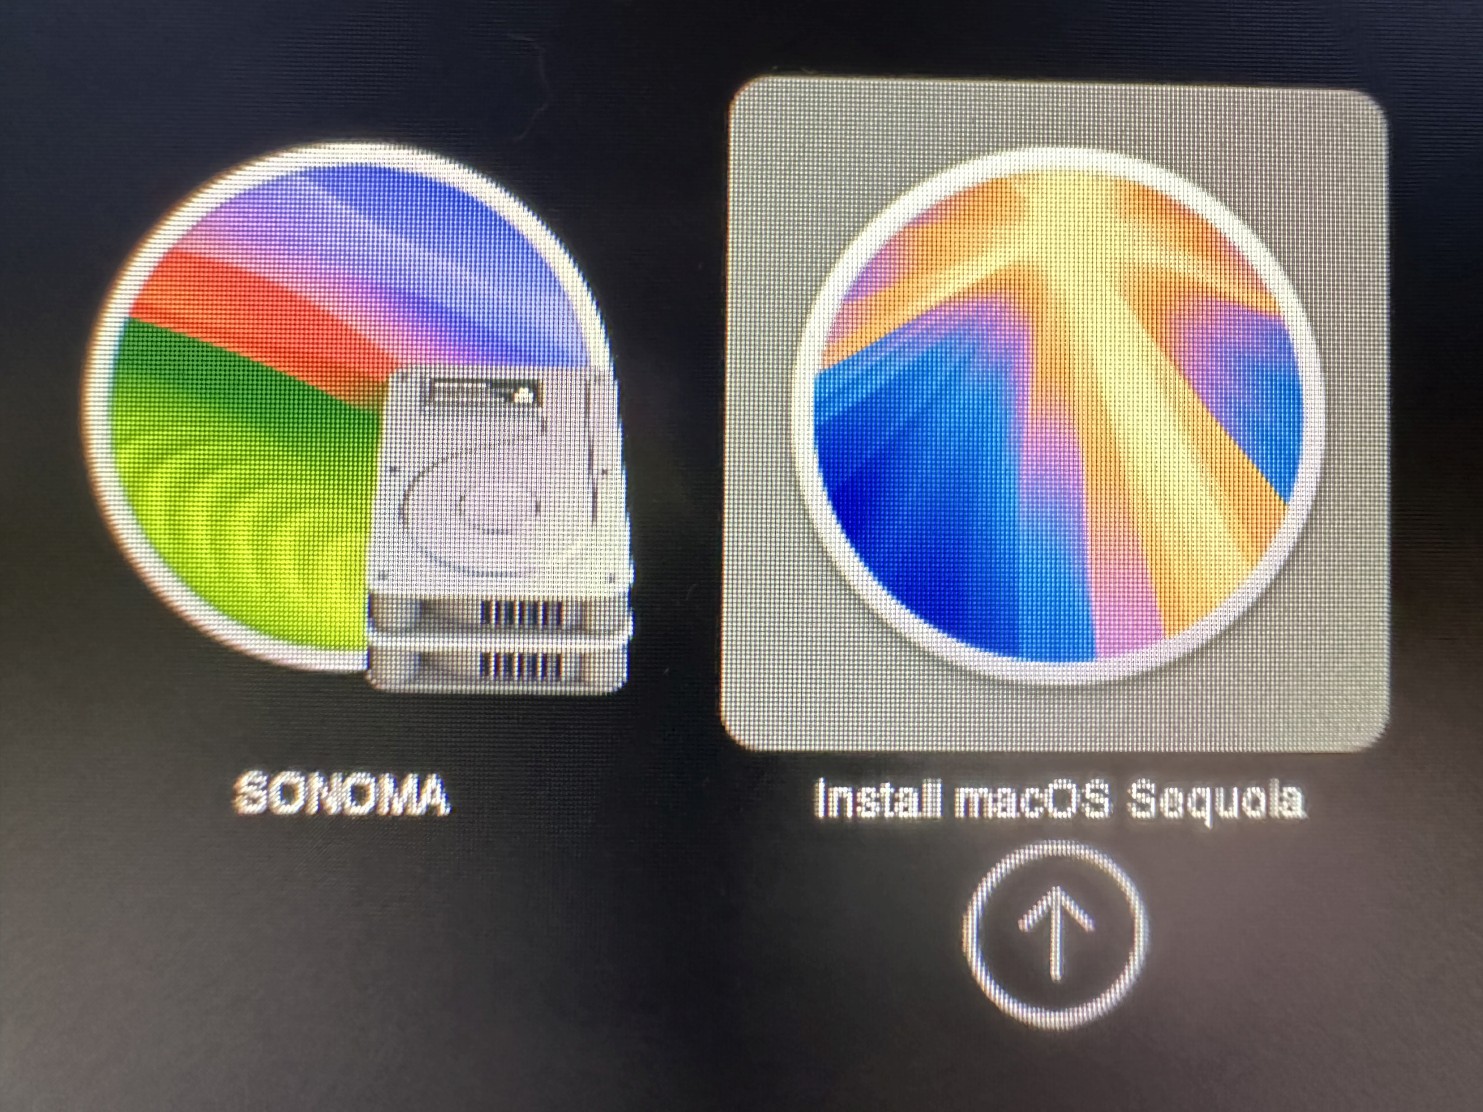
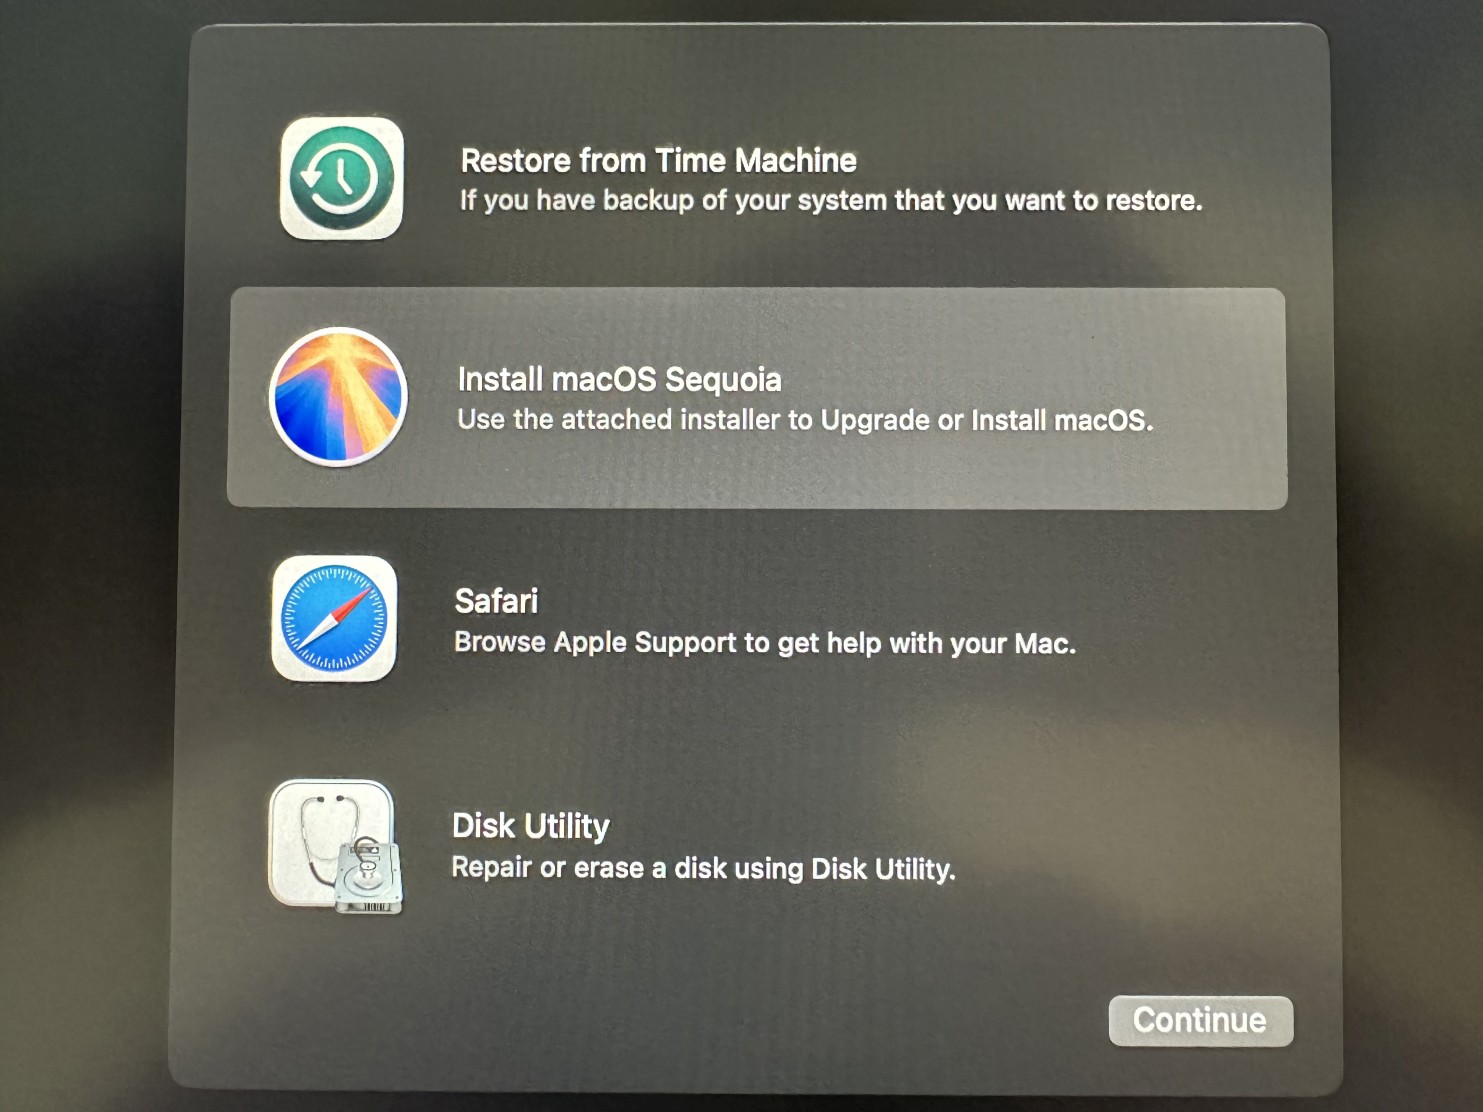
Step 23On OpenCore Legacy Patcher boot picker click an arrow under Install macOS... icon to run the installer from a USB flash drive. |
 |
|
|
|
Step 24Choose Install macOS... from the list.
WARNING: Make sure not to use Disk Utility here otherwise data on your hard drive would be lost! |
 |
|
|
|
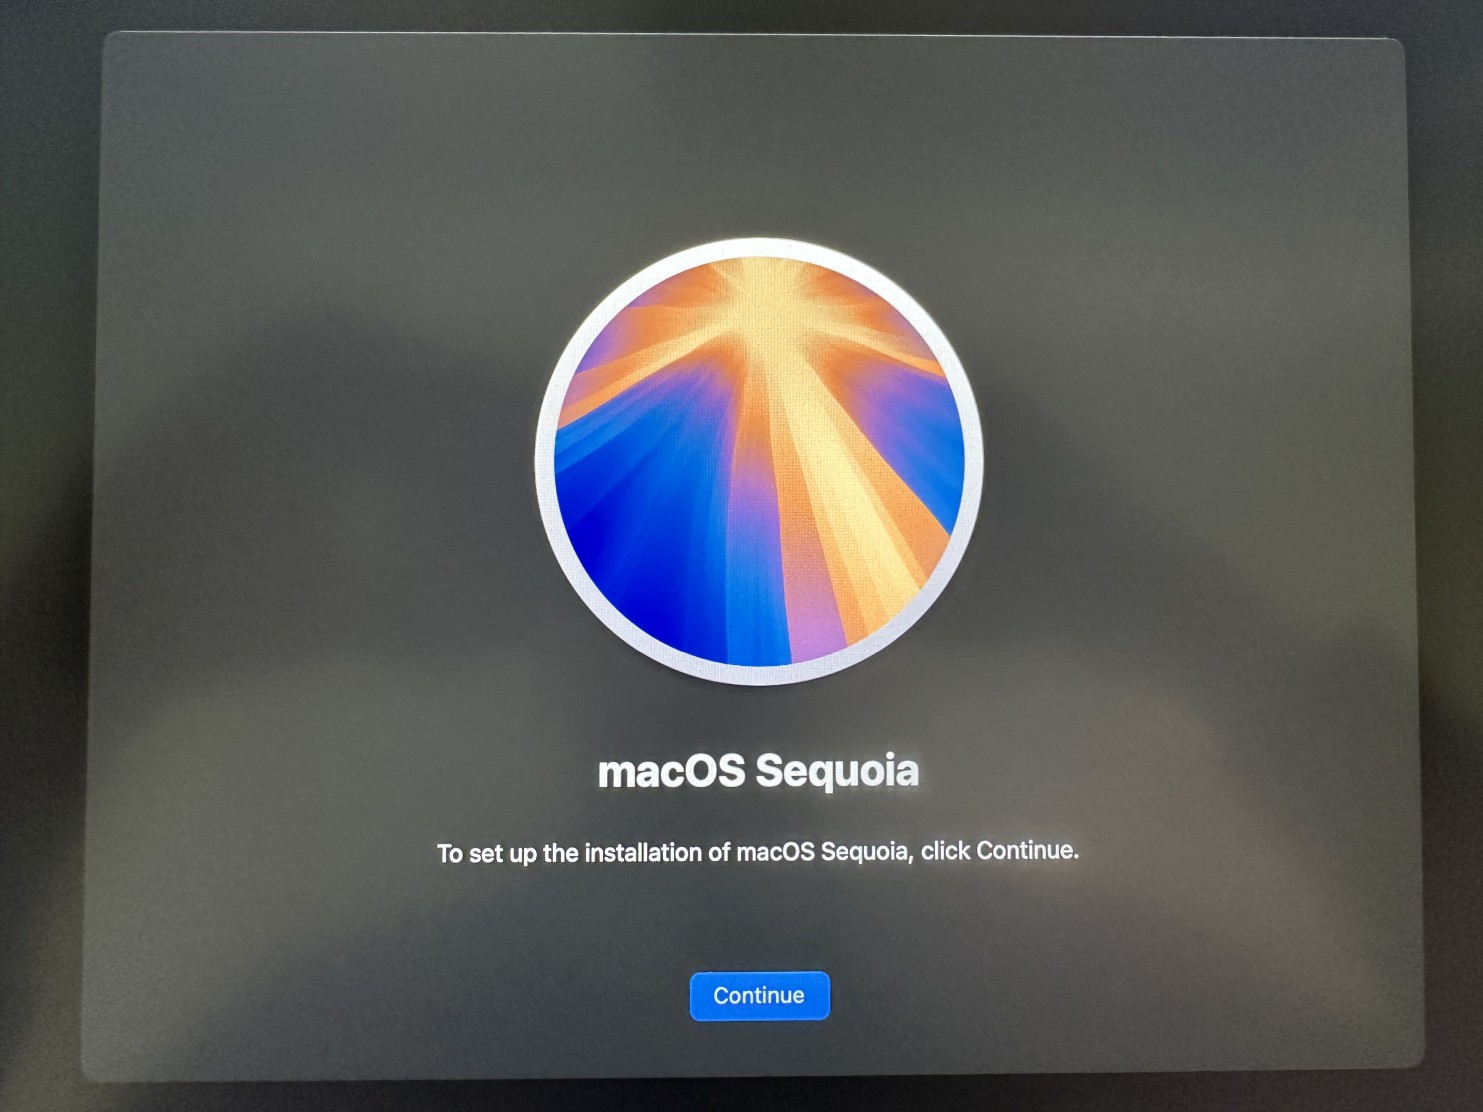
Step 25Click Continue button. |
 |
|
|
|
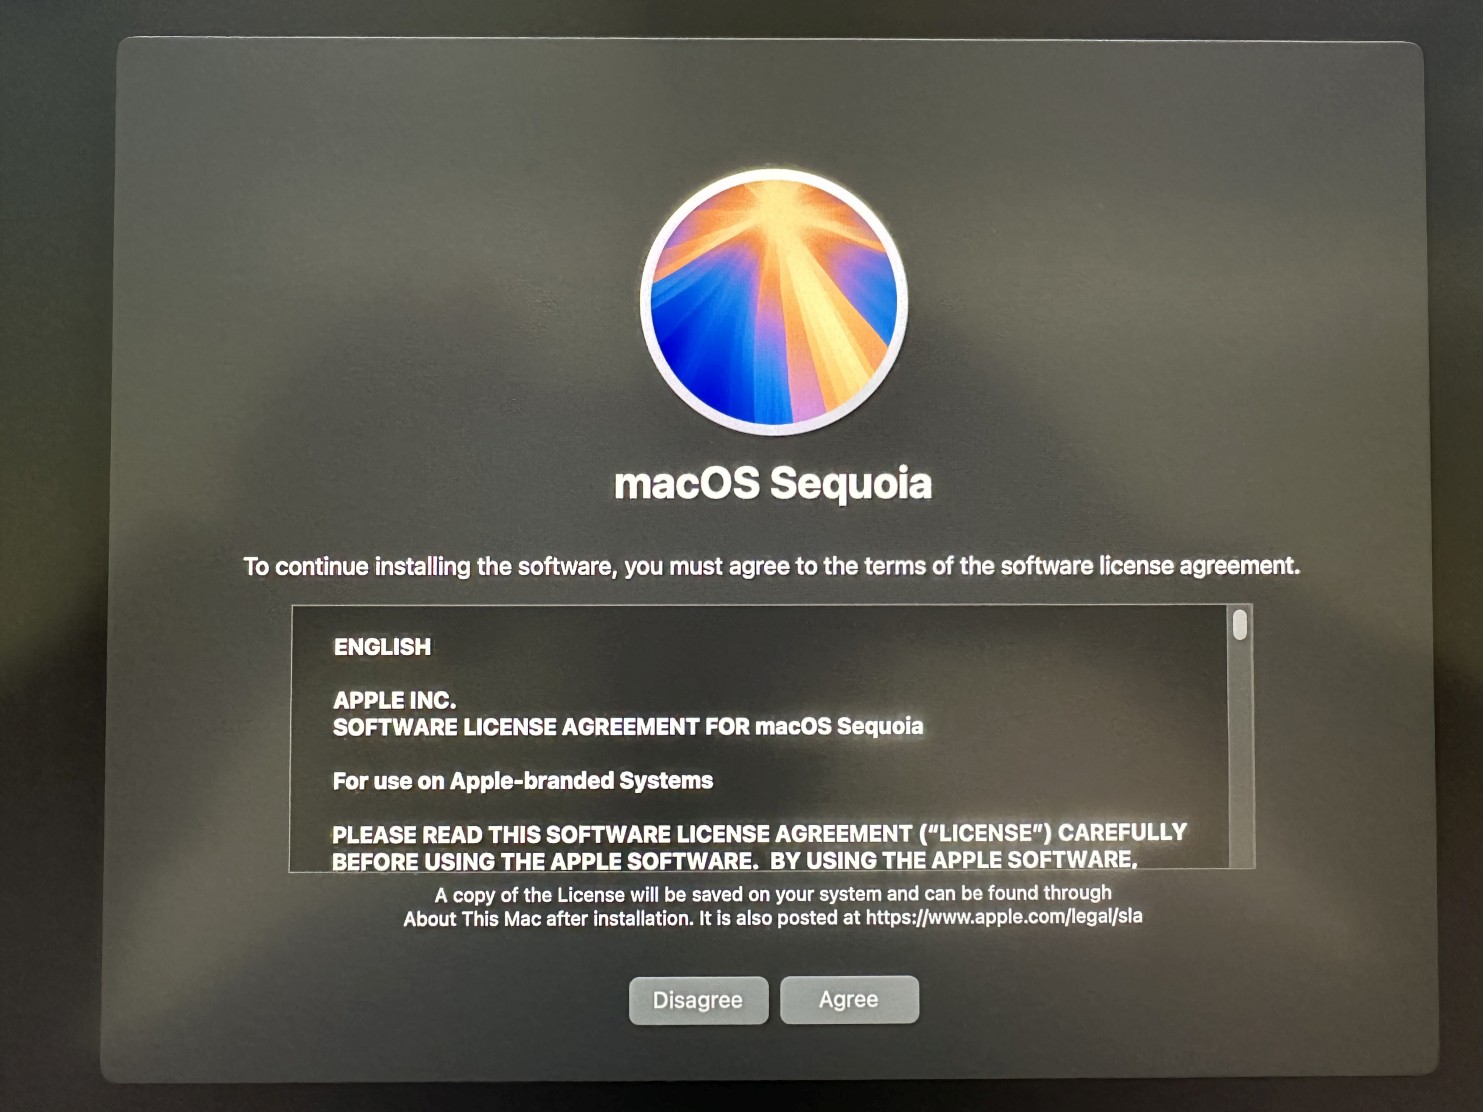
Step 26Click Agree button to accept licence agreement. |
 |
|
|
|
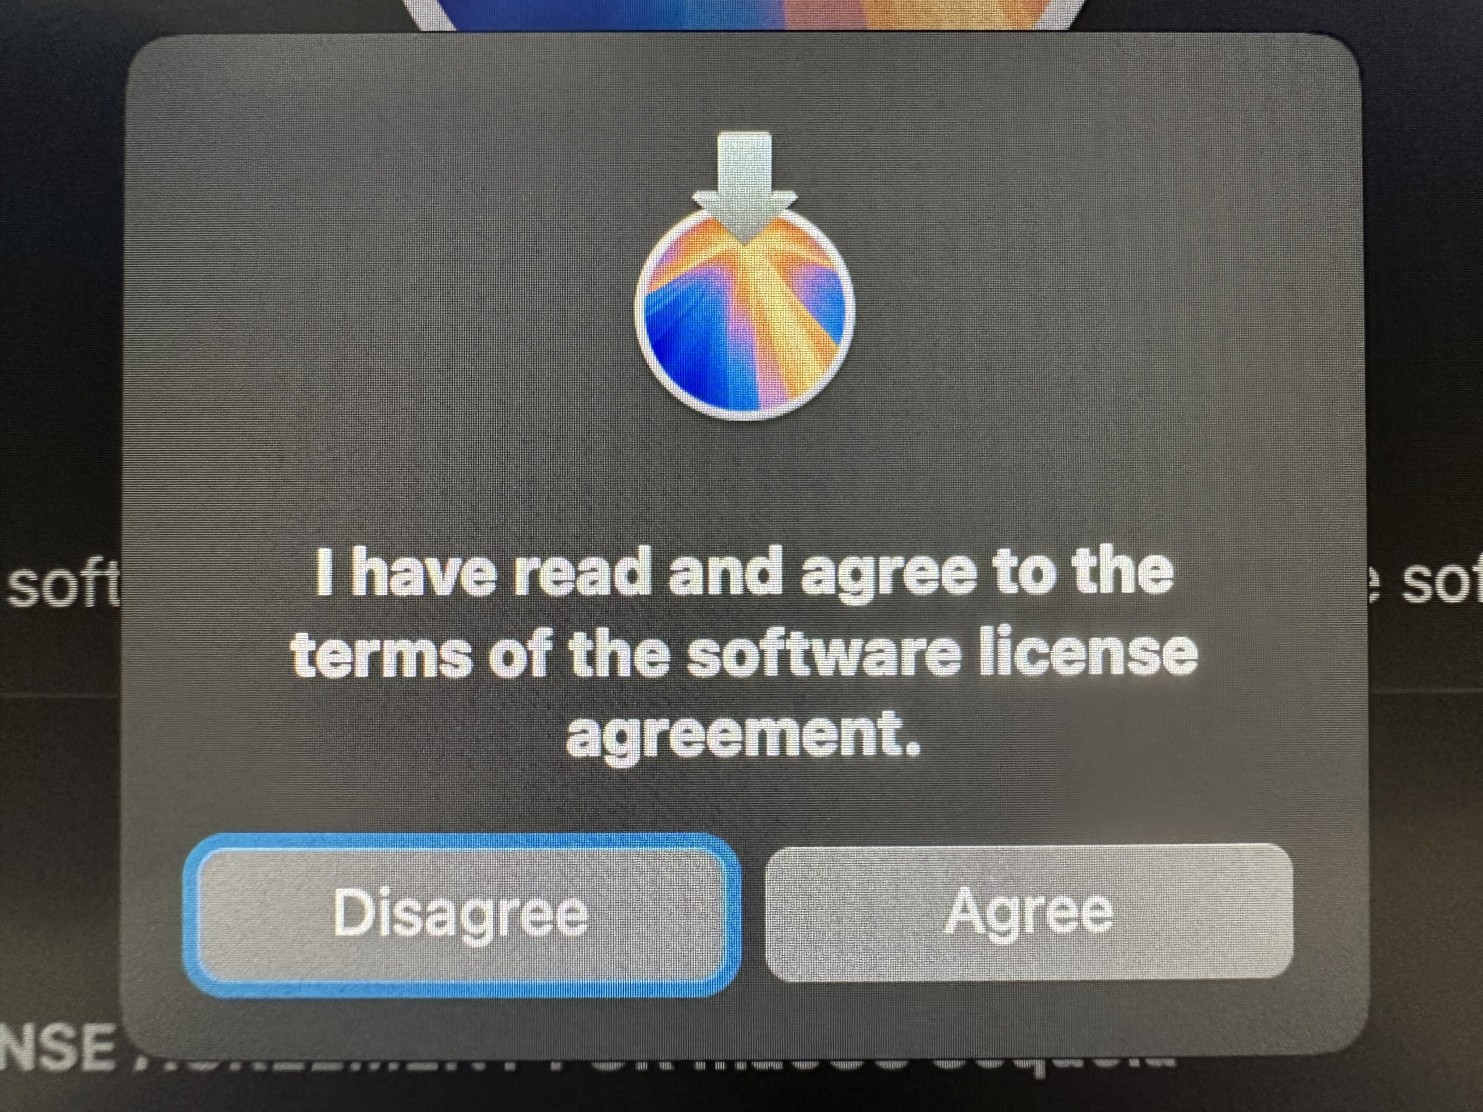
Step 27Again click Agree button. |
 |
|
|
|
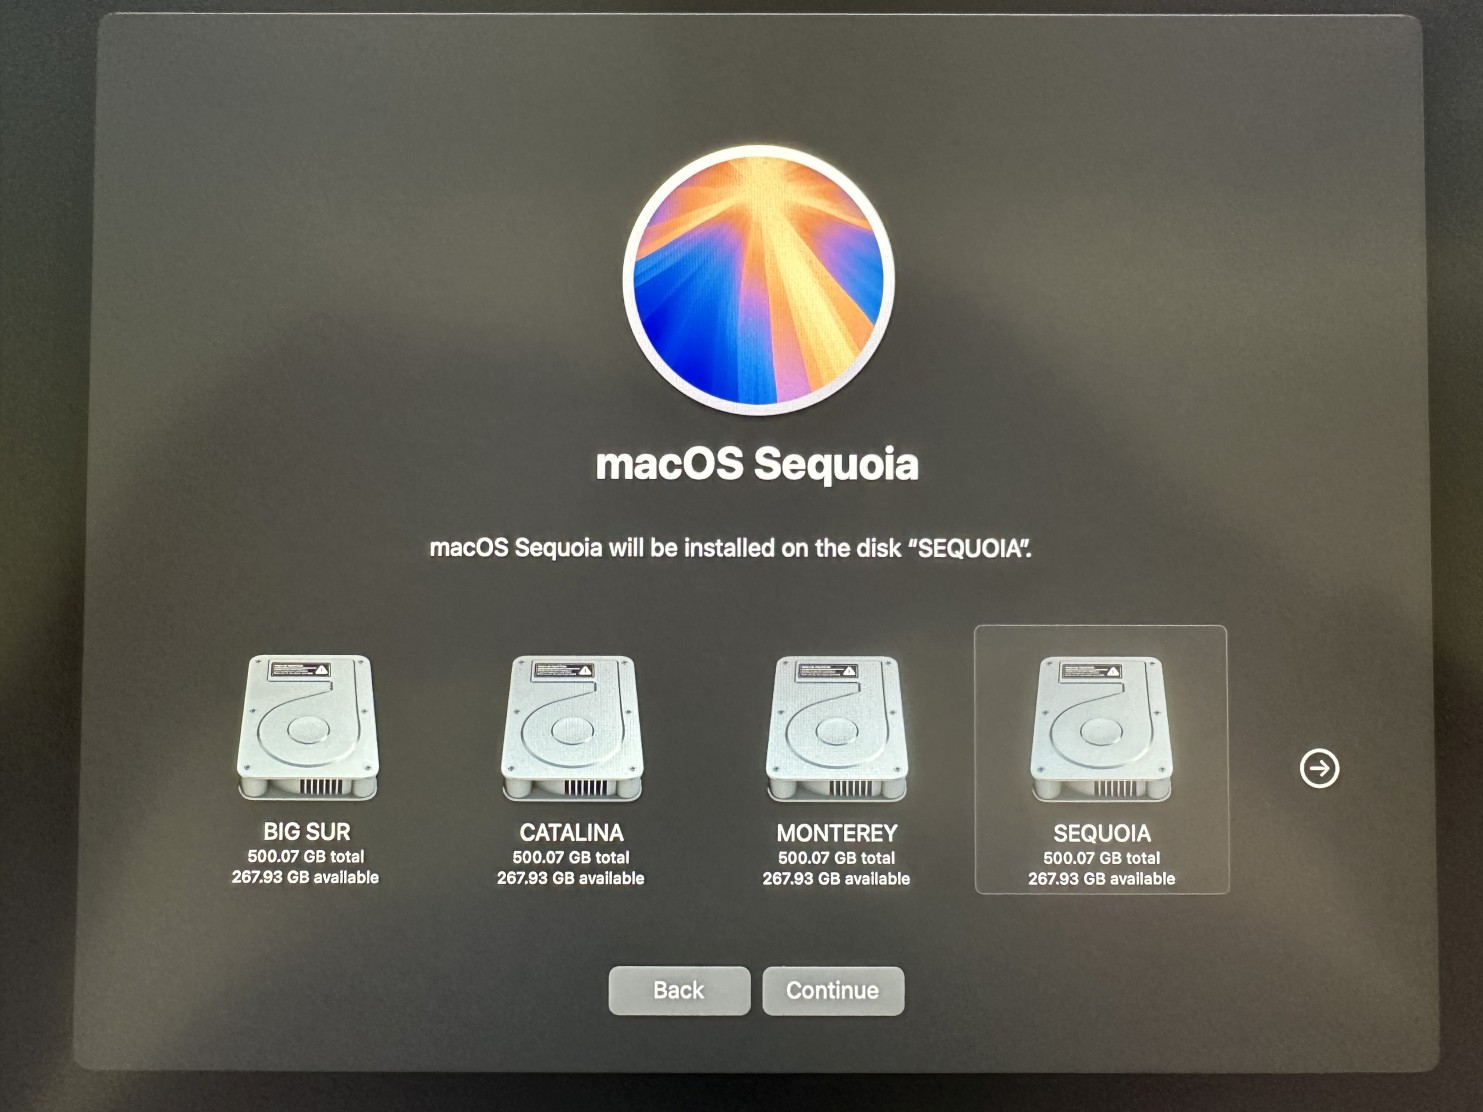
Step 28Choose the drive with already existing macOS installation and click Continue button.
Alternatively you can choose an older macOS drive here instead if you want to upgrade it and make it functional with your new graphics card. |
 |
|
|
|
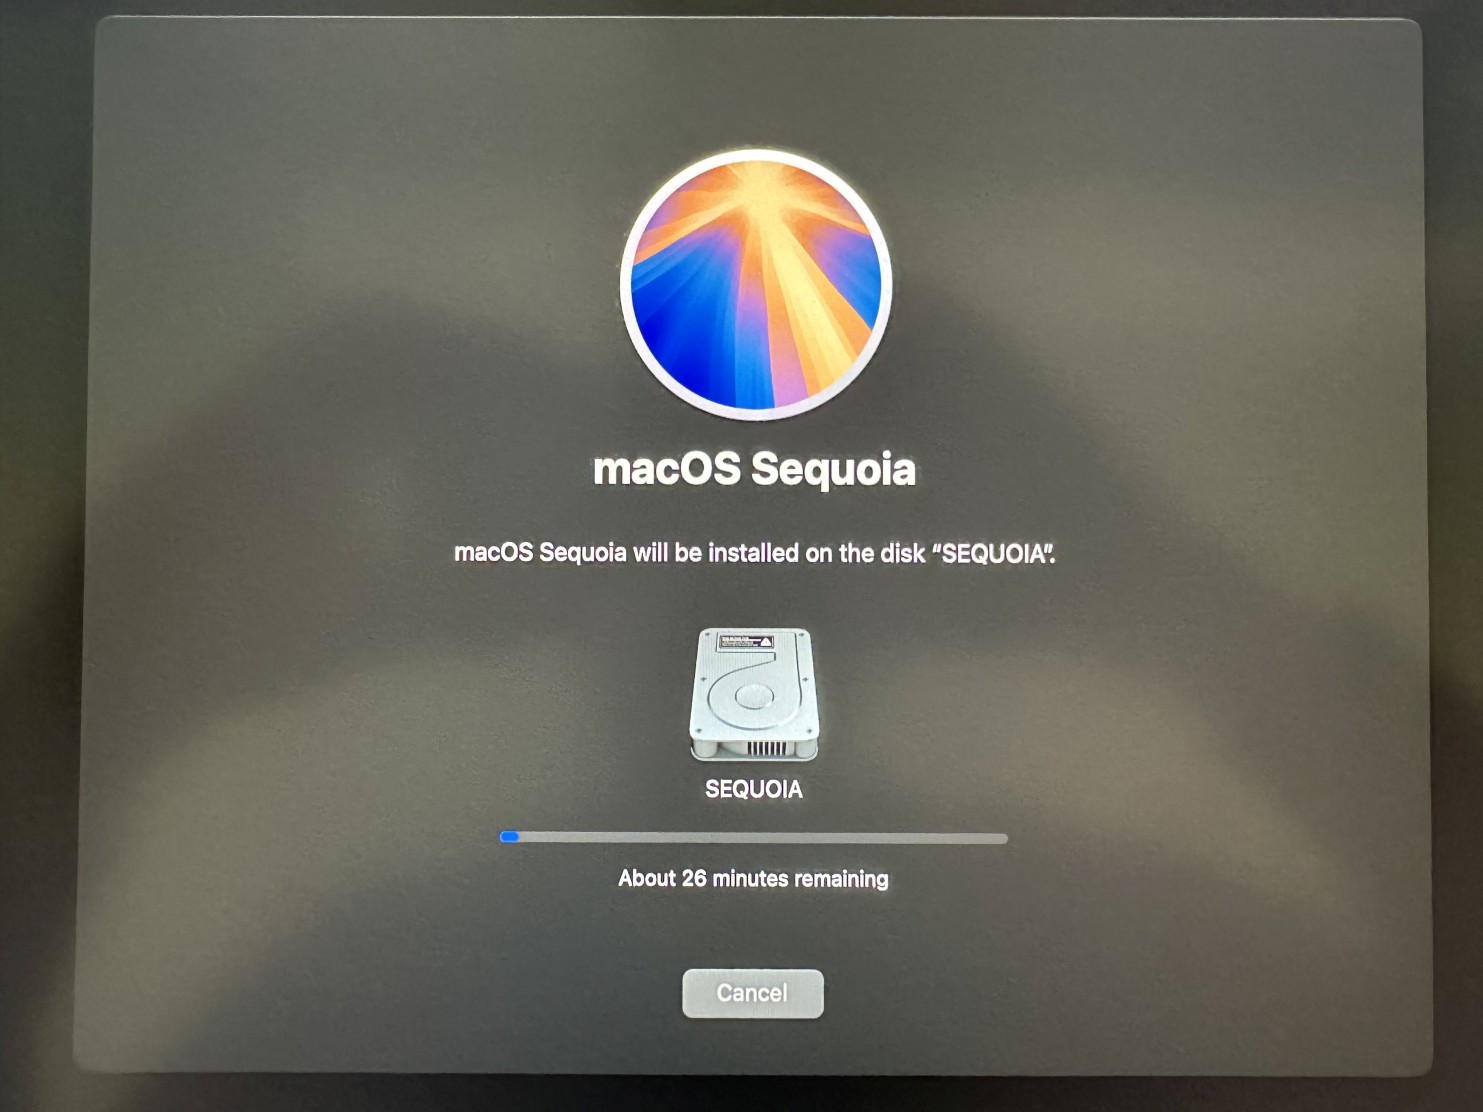
Step 29It will take about an hour to refresh or upgrade the system with all necessary patches. The system will restart several times, but this process is fully automated. Just wait for it to finish. |
 |
|
|
|
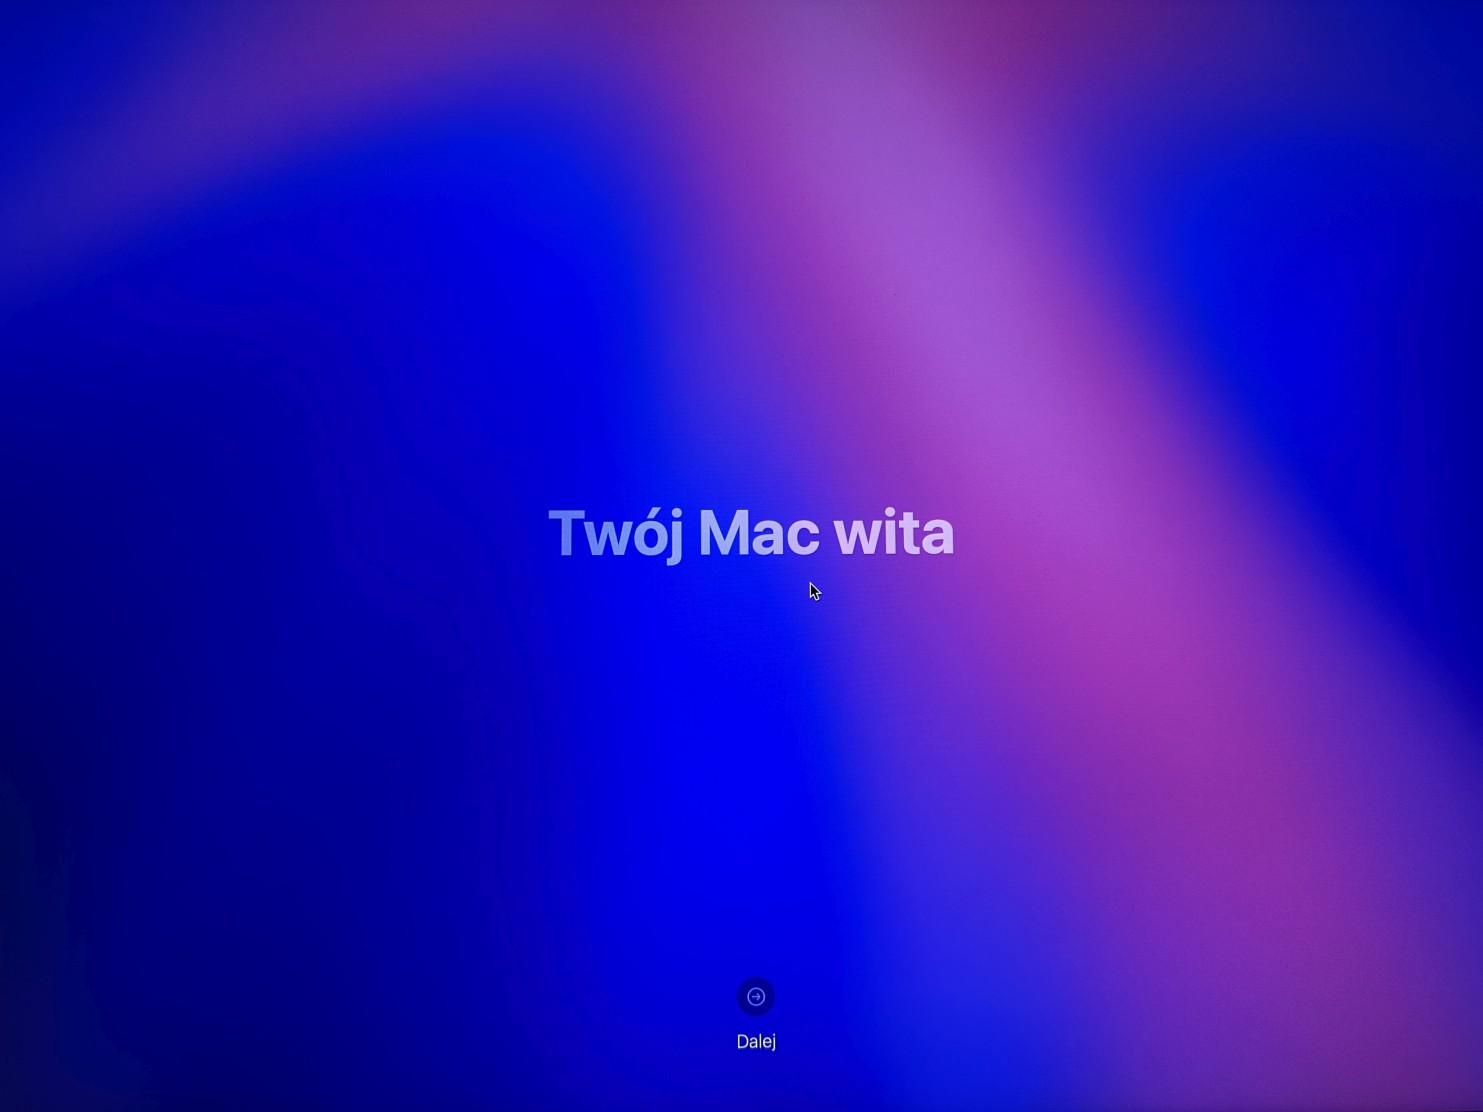
Step 30Once the installation is done you might be asked some questions about Siri etc., but finally you will be presented with welcome screen. Just click an arrow under the text to see the desktop. All your data and settings will be back and your new graphics card will now be fully functional. Enjoy! |
 |
|
|
|
Step 31If you have already installed OpenCore on your hard drive you can ignore this popup message. If not you can click OK button to install it. |
 |